Imagine the gentle flow of water in your toilet bowl, perfectly calibrated to the ideal level. To achieve this, you need to master the art of adjusting the bowl water level.
By following a few simple steps, you can troubleshoot common issues and ensure your toilet functions flawlessly. From identifying the water level to adjusting different types of floats, this step-by-step guide will empower you to take control of your toilet’s water level with confidence.
Let’s dive into the details and unravel the mysteries of toilet maintenance.
Key Takeaways
- Adjust float mechanisms with a screwdriver for correct water level.
- Install and adjust fill valve carefully to control water level.
- Properly adjust cylinder float for optimal flushing efficiency.
- Troubleshoot common issues by observing and adjusting water levels.
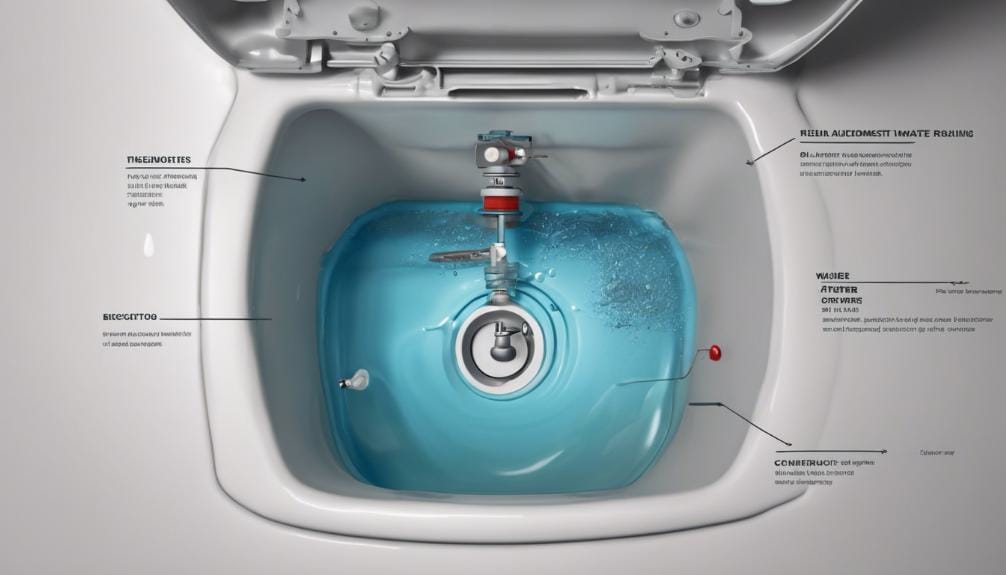
Identify the Water Level in Toilet Bowl
To determine the water level in your toilet bowl, simply observe the water line, ideally positioned at the halfway mark for optimal flushing efficiency. The water level in the toilet bowl is crucial for proper waste removal and preventing issues like clogs and overflows. This level is directly influenced by the water level in the tank, which is controlled by the float valve. When the toilet is flushed, water flows from the tank into the bowl, filling it to the desired level.
If the water level in the toilet bowl is too low, it may result in incomplete flushing and waste removal. Conversely, if it’s too high, it can lead to inefficient flushing and potential overflow. Maintaining the correct water level is essential for the toilet to operate effectively and prevent problems like leaks, gurgling noises, and odors.
Regularly checking and adjusting the water level in the toilet bowl ensures proper function, promotes hygiene, and helps conserve water. By keeping the water level at the halfway mark, you can optimize flushing performance and prevent unnecessary water wastage.
Adjusting Ball-and-Arm Float

Checking the water level in your toilet bowl is essential to ensuring proper flushing efficiency, and adjusting the Ball-and-Arm Float can help maintain the correct level. To adjust the Ball-and-Arm Float properly, follow these steps:
- Use a screwdriver to adjust the float height by turning the screw on top of the fill valve for a Ball-and-Arm Float.
- Check the float height and adjust it to ensure the correct water level in the toilet bowl.
- The Ball-and-Arm Float system controls the water level by raising or lowering the float to regulate water flow.
To make adjustments, locate the screw on the top of the fill valve connected to the float arm. Turn the screw clockwise to lower the water level and counterclockwise to raise it. After making the adjustment, flush the toilet to check the water level. Repeat the process until the water level is at the desired height.
Regularly inspect the Float cup and water supply line to ensure smooth operation.
Adjusting Cylinder Float
Consider adjusting the water level in your toilet tank by manipulating the cylinder float to ensure optimal flushing efficiency.
The cylinder float is a crucial component responsible for controlling the water level in the toilet tank. To adjust the cylinder float, locate the adjustment stem attached to the float mechanism. Turning the adjustment stem clockwise will raise the water level, while turning it counterclockwise will lower the water level in the tank.
Proper adjustment of the cylinder float is essential to maintain the correct water level in the toilet bowl for efficient flushing. Regularly check the cylinder float for any signs of damage or wear, and make necessary adjustments to ensure the optimal functioning of the float mechanism.
Installing New Fill Valve
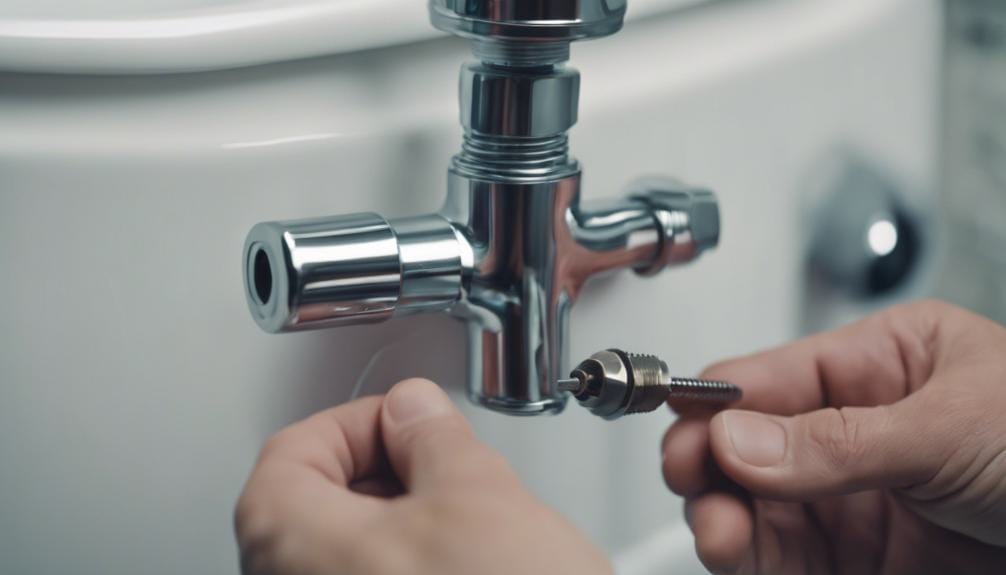
When installing a new fill valve, have you taken the necessary precautions to ensure a leak-free installation? Follow these steps for a successful installation:
- Turn off the water supply: Before beginning the installation process, make sure to turn off the water supply to the toilet. This step is crucial in preventing leaks during the replacement.
- Remove the old fill valve: Unscrew and detach the old fill valve from the tank carefully. Ensure that all parts are disconnected and ready for the new fill valve to be installed.
- Assemble the new fill valve: Securely insert and assemble the new fill valve into the tank following the manufacturer’s instructions. Proper assembly is essential to prevent any future issues with the toilet’s water level.
After installing the new fill valve, test the toilet to check for any leaks and adjust the float if needed to correct the water level. Taking these steps will help you prevent leaks and ensure a properly functioning toilet.
Troubleshooting Common Issues
Having successfully installed the new fill valve, troubleshooting common issues related to adjusting bowl water level in your toilet is essential to ensure optimal functionality and prevent potential problems. Incorrect flushes, clogs, leaks, and inefficient waste removal can occur when the water level in the toilet bowl isn’t appropriately adjusted.
To troubleshoot, start by flushing the toilet and observing the water level in the bowl. If you notice low water levels or an imbalance between the tank and bowl water levels, it may impact flushing performance. Adjust the water level by locating the water supply valve near the toilet, adjusting it to increase or decrease the water level. Additionally, ensure that the fill valve and overflow tube are functioning correctly.
Regular adjustments, maintaining the water level halfway up the bowl opening, can prevent clogs, conserve water, reduce leaks, and maintain a clean bathroom environment, contributing to efficient toilet repair and operation.
Frequently Asked Questions
How Do I Adjust the Amount of Water in My Toilet Bowl?
To adjust the water level in your toilet bowl, locate the fill valve adjustment screw inside the tank. Turn the screw clockwise to raise the water level or counterclockwise to lower it. Check the bowl level and adjust as needed for efficient flushing.
How Do You Adjust the Height of a Toilet Bowl?
To adjust the height of a toilet bowl, locate the water level adjustment screw on the fill valve. Turn it counterclockwise to raise the water level or clockwise to lower it. Adjust slowly and test flushes until the level is optimal.
How Do You Adjust a Toilet Bowl Float?
To adjust a toilet bowl float, locate the float mechanism in the tank. Use a screwdriver to adjust the float height by turning the adjustment screw. Raise to increase water level, lower to decrease. Regularly check for damage and ensure proper functioning.
How Do I Adjust My Flush Water Level?
To adjust your flush water level, locate the tank and identify the float mechanism. Adjust the float to control the water level in the bowl. Proper adjustment ensures efficient flushing, prevents clogs, and balances tank and bowl levels for optimal performance.
Conclusion
In conclusion, adjusting the water level in a toilet bowl is a simple task that can be done with just a few easy steps.
By identifying the current water level, adjusting the float, and ensuring the fill valve is working properly, you can easily maintain the proper water level in your toilet bowl.
Regular maintenance and troubleshooting any common issues will help keep your toilet functioning smoothly and efficiently.


Leave a Reply
You must be logged in to post a comment.